
The cheapest HVAC fix can become the most expensive choice. I’d judge any upgrade by three numbers first: installed cost, yearly savings, and carbon change.
If I were making this decision today, I’d start with a building check before pricing new equipment. Why? Because many HVAC problems come from bad schedules, airflow issues, stuck economizers, duct leaks, or poor sizing – not from dead equipment. And those fixes can sometimes cut utility costs by 5% to 20% without a full replacement.
Here’s the short version of what matters:
- Start with 12 to 24 months of utility bills and repair history
- Compare repair, retrofit, and full replacement
- Look at RTUs, ductless/VRF, and boiler upgrades based on the building layout
- Include controls, ventilation, maintenance, and commissioning in the budget
- Use simple payback and 15- to 20-year cost review, not sticker price alone
- Track carbon from electricity, gas, and refrigerant leaks
- In Chicago, both heating and cooling matter, with about 6,176 heating degree days and 3,251 cooling degree days each year
A few numbers shape the decision fast:
- Commercial HVAC labor in Chicagoland often runs $125 to $275 per hour
- Maintenance often lands around $0.15 to $0.40 per square foot per year
- Controls work like DCV can cut HVAC energy use by about 10% to 30%
- Refrigerant leaks can hit hard: 10 lb of refrigerant with a 2,000 GWP equals about 9.1 metric tons of CO2e
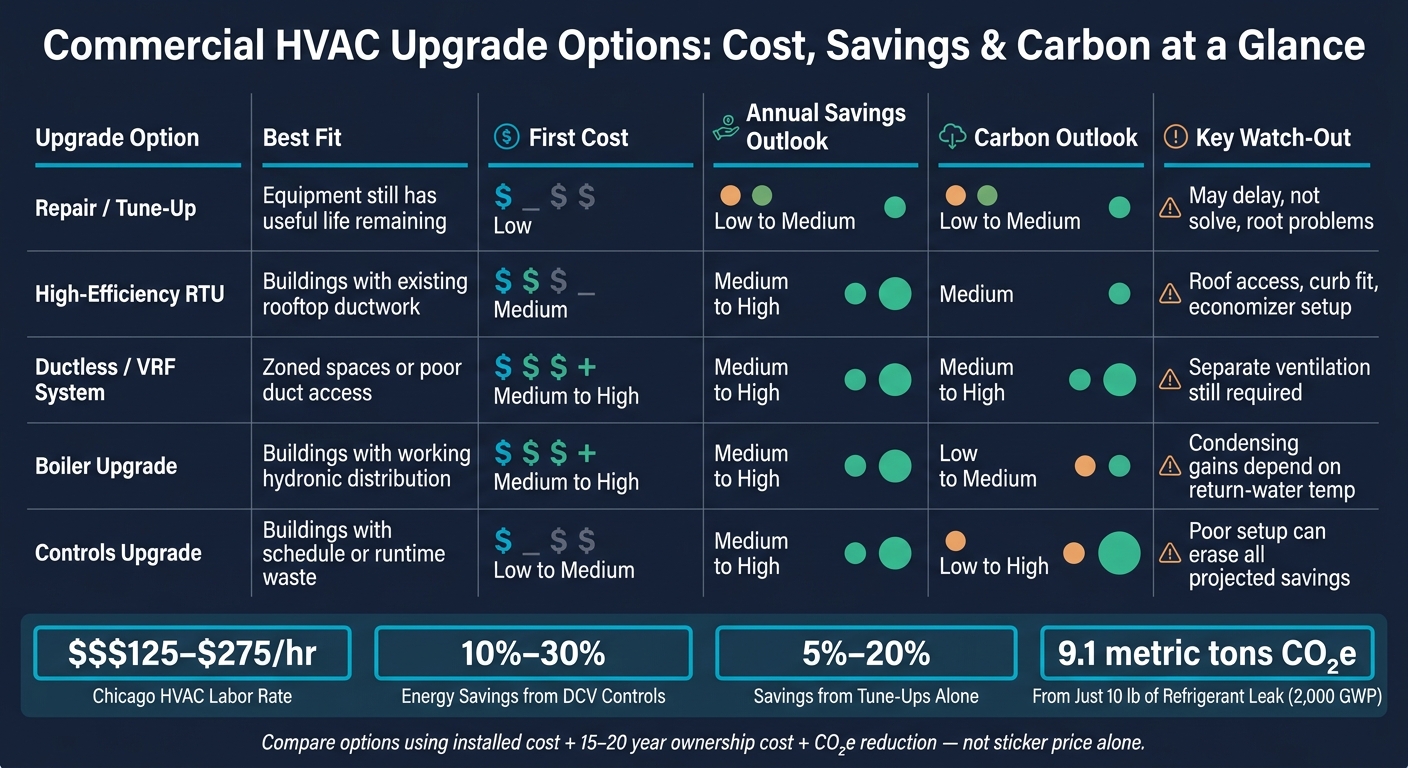
Commercial HVAC Upgrade Options: Cost, Savings & Carbon Comparison
Quick Comparison
| Option | Best fit | First cost | Savings outlook | Carbon outlook | Main watchout |
|---|---|---|---|---|---|
| Repair/tune-up | Equipment still has life left | Low | Low to medium | Low to medium | May delay, not solve, root problems |
| High-efficiency RTU | Buildings with existing rooftop ducts | Medium | Medium to high | Medium | Roof access, curb fit, economizer setup |
| Ductless/VRF | Zoned spaces or poor duct access | Medium to high | Medium to high | Medium to high | Ventilation still needed |
| Boiler upgrade | Buildings with working hydronic distribution | Medium to high | Medium to high | Low to medium | Condensing gains depend on return-water temperature |
| Controls upgrade | Buildings with schedule or runtime waste | Low to medium | Medium to high | Low to high | Bad setup can erase savings |
I’d use this guide to sort the problem first, then price the fix second.
sbb-itb-b5c10b1
Upgrade Options: Rooftop Units, Ductless Systems, And Boilers
Once your assessment is done, the next job is matching the equipment to the building. That means looking at installed cost, expected service life, maintenance, energy use, peak demand, refrigerant effects, and carbon emissions. From there, you can choose the path that lines up with the building layout and the distribution system already in place.
Rooftop Units And Packaged Equipment For Common Commercial Spaces
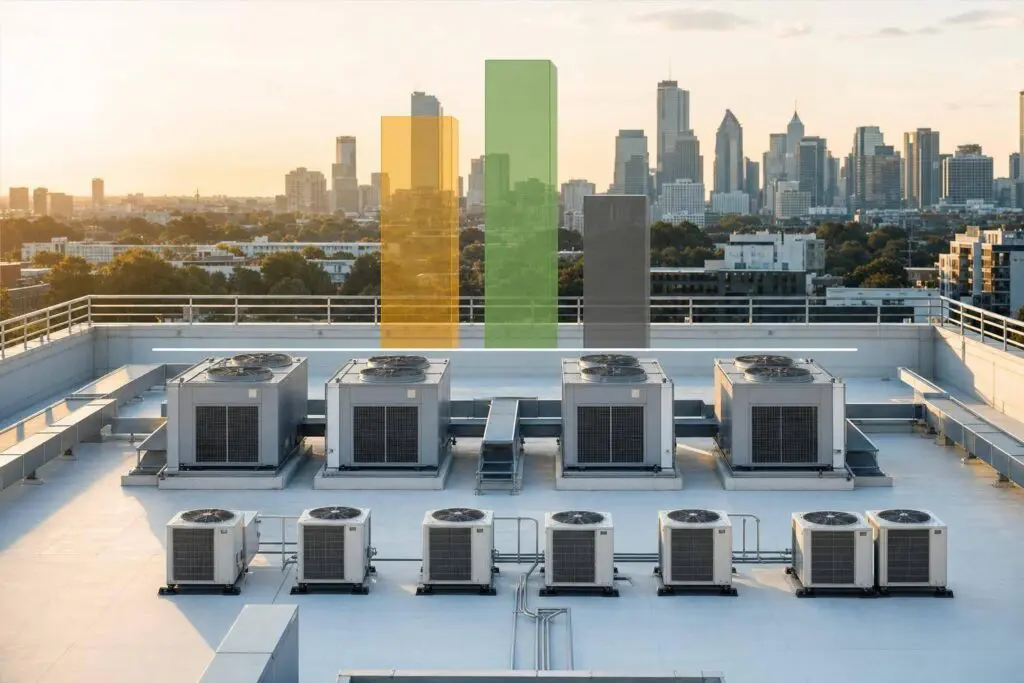
A packaged rooftop unit is often the simplest place to start for retail stores, open-plan offices, restaurants, and warehouses that already use rooftop ductwork. If the existing curb, duct connections, roof condition, and utility service all line up, a replacement RTU keeps disruption down and makes use of infrastructure you’ve already paid for.
RTU savings usually come from the way controls and airflow work together. Variable-speed fans, economizers, and demand-controlled ventilation can reduce compressor runtime and cut overventilation. The U.S. Department of Energy points to variable-speed fan control, DCV, and air-side economizing as the core parts of an advanced RTU controls package. For building owners, that matters because these features can trim runtime without a full building redesign. A Canadian big-box-store analysis found about 25% space-heating savings from condensing RTUs, with annual energy-cost savings of about $700 to $3,300 per unit depending on climate zone and operating assumptions.
Before you place an order, check the RTU fit details that can trip up a project:
- Roof curb dimensions
- Crane access
- Gas-pipe sizing
- Electrical disconnects
- Condensate routing
- Controls compatibility
A curb adapter can help a replacement unit fit an existing roof opening when dimensions don’t match. But it also adds cost, height, and extra air-leak points, so sealing and insulation need to be done right. For heat-pump RTUs in Chicago’s climate, mild-weather ratings aren’t enough. The design also needs to cover heating capacity at local winter design temperatures, defrost operation, backup heat strategy, and electrical-service capacity.
When rooftop equipment stops making sense for the building, zoning needs and ductwork limits usually push the discussion toward ductless or VRF systems.
| Equipment Type | Best-Fit Building Conditions | Installation Requirements | Energy-Saving Opportunities | Maintenance Needs | Carbon Implications |
|---|---|---|---|---|---|
| High-efficiency gas-electric RTU | Open retail, offices, restaurants with existing rooftop ductwork | Roof curb, structural check, crane access, gas/electrical verification | Variable-speed fans, economizer, DCV | Quarterly: filters, coils, belts, economizer dampers, heat exchanger | Moderate reduction vs. older unit; depends on gas use and runtime |
| Packaged heat-pump RTU | Buildings reducing on-site combustion with adequate electrical capacity | Electrical-service upgrade often required; backup heat strategy needed | Reduces on-site combustion for heating | Quarterly: coils, refrigerant, defrost controls, filters | Higher potential as the grid decarbonizes; winter capacity must be verified |
| RTU with advanced controls retrofit | Existing RTU still mechanically sound but poorly controlled | Controls panel, VFD, CO₂ sensors, economizer actuators | Fan energy, outdoor-air waste, scheduling, economizer recovery | Controls calibration added to standard RTU schedule | Low to moderate; reduces unnecessary runtime and conditioning |
Ductless And VRF Systems For Zoned Or Hard-To-Duct Buildings
Ductless and VRF systems make sense when a building needs zoning, has little or no usable ductwork, or includes tenant spaces with different schedules. A single-zone mini-split works for one room or one isolated area. Multi-zone ductless equipment connects several indoor units to one outdoor unit. VRF heat-recovery systems go a step further by moving heat from zones that need cooling to zones that still need heating at the same time. That’s especially useful in mixed-use buildings, where one area may be warm from people or equipment while another still feels cold.
One thing trips people up here: ductless and VRF indoor units recirculate air. They do not replace the need for code-required outdoor air. A dedicated outdoor-air system, energy-recovery ventilator, or another code-compliant option may still be needed, especially in restaurants, densely occupied offices, and retail spaces. That ventilation cost should stay in the comparison when you’re weighing these systems against ducted options.
VRF systems can cut duct losses in a big way. A Pacific Northwest National Laboratory/Bonneville Power Administration measure report found about 10%–20% savings compared with a VAV system by reducing duct losses. A separate ground-source VRF evaluation reported cooling energy reductions of 30%–50% versus air-cooled chillers and unitary systems, plus heating energy reductions of up to 75% versus gas furnaces and boilers with electric reheat. ENERGY STAR lists qualifying VRF heat pumps in the 65,000–135,000 Btu/h range at up to 17.4 IEER and 3.4 COP at 47°F.
If the building already has hydronic distribution that still works well, boiler upgrades often let you keep more of what is already there.
| System | Zoning Flexibility | Ductwork Dependence | Installation Disruption | Control Complexity | Maintenance | Carbon Potential |
|---|---|---|---|---|---|---|
| Rooftop unit | Moderate; depends on ducts, dampers, and controls | High | Moderate to high | Moderate | Roof access, filters, coils, fans, economizers, refrigerant or gas service | Moderate to high with high-efficiency equipment, economizers, variable-speed fans, and proper ventilation controls |
| Ductless mini-split or multi-zone | High for separate rooms and tenant areas | Low | Low to moderate; wall penetrations, line sets, indoor units, condensate drains | Moderate | Filter, coil, drain, outdoor-unit, and refrigerant maintenance; multiple indoor units increase service points | Moderate to high when replacing inefficient electric resistance heat or reducing conditioning of unoccupied areas |
| VRF heat-pump or heat-recovery | Very high; supports many independently controlled zones | Low to moderate; ventilation ductwork may still be required | Moderate; extensive refrigerant piping and controls coordination | High | Specialized diagnostics, refrigerant management, filters, coils, drains, controls service | High in well-zoned buildings, particularly when heat recovery transfers heat between zones and grid emissions are lower than displaced fuel |
Boiler And Hydronic Upgrades When Distribution Stays In Place
If a building already has working radiators, baseboards, fan coils, or hydronic air handlers, replacing only the heat source is often less disruptive and less expensive than switching the whole place to forced air. Keeping the hydronic distribution can lower installed cost and cut disruption before you even count the energy savings. This shows up a lot in older commercial buildings where the piping and terminal units are still in good shape.
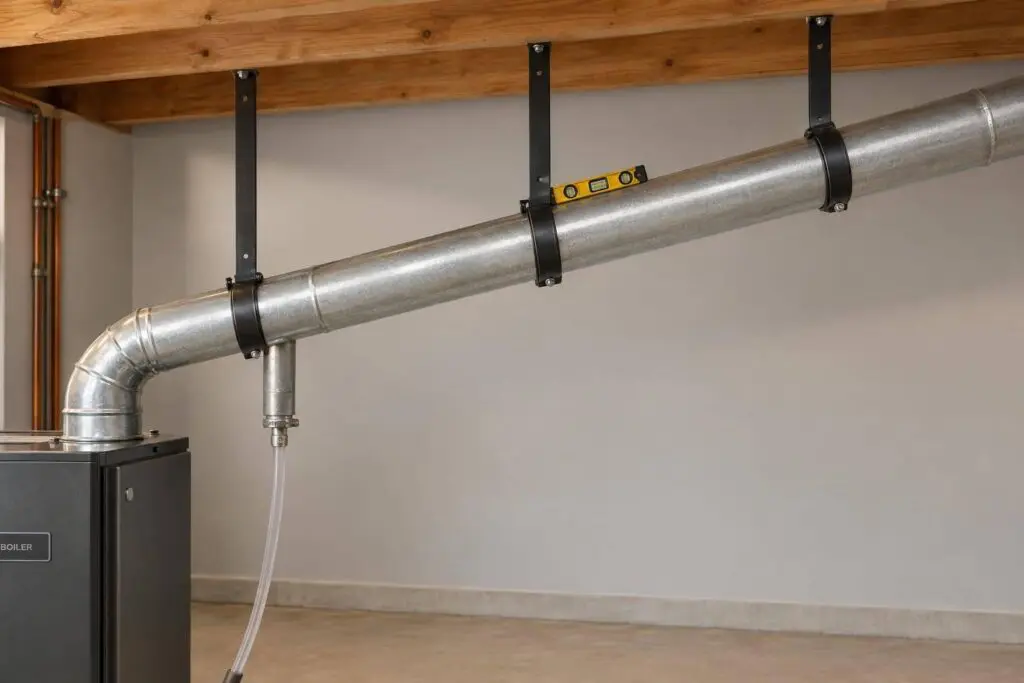
A condensing boiler only hits its rated efficiency when return-water temperatures are low enough for flue-gas condensation. If the system runs hot, you lose much of that condensing gain. Outdoor-air reset helps by lowering supply-water temperature during milder weather, which then lowers return-water temperature and improves condensing operation. ENERGY STAR’s commercial boiler guidance calls out outdoor-air reset as a way to improve condensing performance. Before specifying a replacement, verify the actual heating loads. If you swap an oversized boiler for another oversized boiler, short cycling is still there, and that hurts comfort, efficiency, and equipment life.
A few upgrades often make the boiler plant work better as a whole:
- Lead-lag staging helps multiple boilers track partial loads while keeping backup in place.
- Variable-frequency-drive pumps reduce electricity use when flow needs drop.
- Pipe and valve insulation cuts distribution losses.
- Steam systems need extra attention to trap condition, condensate return, pressure settings, and water hammer, since those issues can waste more fuel than an inefficient boiler.
- If future electrification is even a remote possibility, check electrical capacity and low-temperature emitter performance now, not later.
After the equipment choice is made, controls, maintenance, and verification decide whether the project actually delivers the savings on paper.
| Upgrade | Upfront Cost | Disruption | Operating Savings | Carbon Impact |
|---|---|---|---|---|
| Boiler replacement | Medium to high | Medium; mechanical-room work, venting, gas, water, and controls coordination | High when an old or oversized boiler is replaced and properly commissioned | Moderate for a high-efficiency gas boiler; higher when it substantially reduces fuel use |
| Controls and outdoor-air reset | Low to medium | Low to medium | Low to high, depending on existing control condition and operating schedule | Low to moderate; reduces unnecessary firing and distribution losses |
| Pumping improvements and VFDs | Low to medium | Low to medium | Moderate where pumps are oversized or operate continuously | Low to moderate; mainly reduces electricity use |
| Steam-system repairs |
Controls, Maintenance, And Performance Verification
Controls And Ventilation Upgrades That Cut Waste
Once you’ve picked the equipment, the next part decides whether the project will save money or just look good on paper: controls and maintenance.
Start with a controls audit. Check schedules, setpoints, setbacks, staging, and after-hours operation. ENERGY STAR recommends reviewing HVAC schedules, setpoints, optimal start/stop, setbacks, lockouts, and occupancy controls on a regular basis so equipment runs only when needed. In plenty of buildings, the fastest path to savings isn’t a new unit at all. It’s fixing schedules and sensor settings that are already in place but set up wrong.
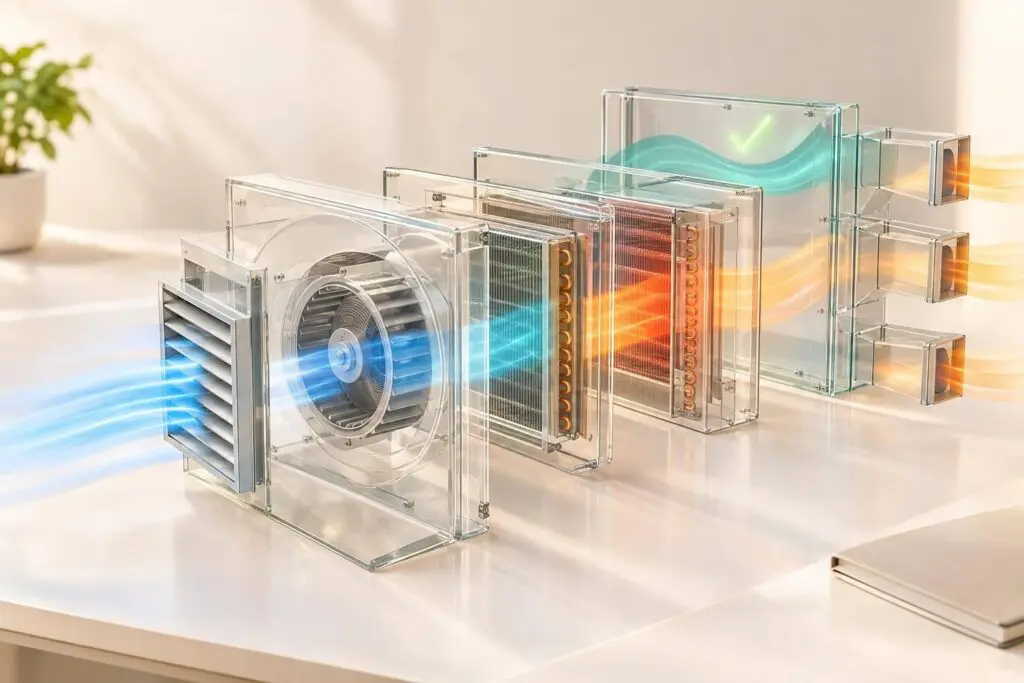
Common upgrades include programmable or smart thermostats, CO₂-based demand-controlled ventilation (DCV), occupancy sensors, remote monitoring, a building automation system (BAS), and fault detection. DOE says DCV by itself can cut energy use by about 10%–30% in buildings with variable occupancy or long operating hours. Supply-air and static-pressure resets can trim fan and cooling energy too, but they need proper commissioning. If they’re tuned badly, comfort and humidity issues show up fast. Economizer dampers also need hands-on verification. A stuck damper or a bad sensor can quietly drive energy use up instead of down.
A new thermostat or BAS does nothing on its own. It has to be commissioned and checked. That means testing it under actual operating conditions, including occupied mode, unoccupied mode, morning warm-up, economizer enable, and DCV response. That’s the only way to know the system is doing what it should. Retrocommissioning has delivered 5%–30% energy savings in building studies.
Why Maintenance Plans Belong In The Payback Calculation
Maintenance and corrective work should be priced as their own line items in the ownership model. If filters are clogged, coils are dirty, sensors drift, or steam traps fail, even new equipment will burn more fuel, run longer, and break down more often.
A good maintenance plan covers the parts that affect day-to-day performance:
- Filters, coils, belts, and fans
- Refrigerant pressures, leak indicators, and electrical connections
- Boiler-water treatment, steam-trap inspection, and sensor calibration
ENERGY STAR specifically points to filter replacement, coil cleaning, economizer damper checks, and steam-trap repairs as maintenance tasks with a direct effect on efficiency. For small businesses, ENERGY STAR recommends checking filters monthly during heavy-use periods and replacing them at least every three months. Those costs belong in operating expenses, not buried as generic service work.
In Chicagoland, timing matters. Cooling-system inspections should happen in late spring, before summer demand hits. Heating, boiler, and hydronic inspections make more sense in early fall, before winter strain kicks in. Commercial HVAC maintenance in the Chicago area usually costs $0.15–$0.40 per square foot per year, and quarterly service is the baseline for the local climate. The best plans don’t stop at routine parts replacement. They include written findings, pricing for corrective work, and follow-up checks to confirm the fix worked. Avoided repairs should appear as a separate line in the life-cycle analysis, not mixed into energy savings.
How To Confirm That The Upgrade Actually Performs
Verification starts before installation. Gather at least 12 months of utility bills, operating hours, occupancy patterns, comfort complaints, and weather data. Record current control sequences, setpoints, schedules, alarm histories, and expected ventilation rates. Without a baseline, there’s no solid way to prove savings.
After the work is done, measure airflow, outdoor airflow, supply-air and return-air temperatures, static pressure, humidity, and a sample of zone conditions. Then test every operating mode: occupied, unoccupied, optimal start-stop, economizer, DCV response, alarms, safeties, and heating/cooling changeover. DOE guidance points to testing and balancing, DCV, economizers, and air-handling-unit upgrades as key ventilation verification steps. After that, compare post-upgrade energy use with the baseline while accounting for weather. Use heating and cooling degree days instead of comparing a mild month to an extreme one.
Before closeout, fix any deficiencies and require the contractor to hand over a sequence-of-operations document, point list, updated setpoints, trend logs, alarm list, and deficiency log. That paperwork helps protect the investment and gives the building team what they need to keep the system running the right way. With baseline and post-upgrade data side by side, payback and carbon reduction can be calculated with confidence.
Cost, Payback, And Carbon Calculations
Once performance is verified, the next job is to turn those results into dollars, payback, and carbon. The cleanest way to compare options is to use the same three measures for each one: installed cost, operating cost, and CO₂e reduction.
What To Include In Total Installed And Ownership Cost
A low bid can end up costing more once missing scope shows up later. That’s why every cost needs its own line item before you compare proposals side by side.
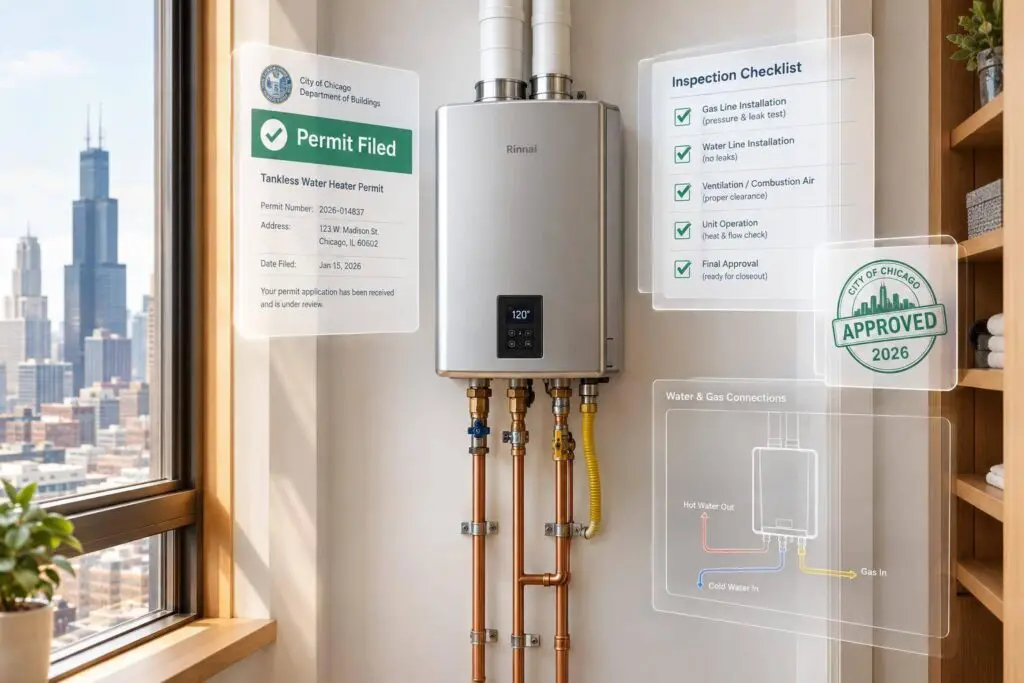
Total installed cost should include equipment, engineering, load calculations, permits, demolition, disposal, crane or rigging, electrical upgrades, gas piping, duct or piping changes, refrigerant lines, controls, commissioning, and temporary heating or cooling during the swap. Ownership cost goes further. It includes financing, utilities, maintenance, repairs, refrigerant service, downtime, and replacement. For rough planning, commercial efficiency upgrades often run $15–$40 per square foot, but age, access, labor, code, and duct or piping work can push a project above or below that range.
Ask for proposals with separate line items for each cost category. That makes it much easier to compare bids fairly and spot when a contractor is trimming scope instead of trimming price.
Simple Payback, Life-Cycle Cost, And Planning Formulas
Once you have a weather-adjusted baseline, the math is pretty direct. Annual operating savings combine lower energy costs, lower demand charges, and avoided maintenance and repair costs, minus any new maintenance expense:
Annual Operating Savings = (Baseline Energy Cost − Projected Energy Cost) + Avoided Maintenance and Repair Cost − Added Maintenance Cost
Net Installed Cost = Gross Installed Cost − Rebates − Tax Incentives − Utility Incentives + Financing and Enabling Costs
Simple Payback (years) = Net Installed Cost ÷ Annual Operating Savings
Here’s a plain example. If a project costs $90,000, gets $15,000 in incentives, and needs $5,000 in electrical and controls work, the net cost is $80,000. If it cuts annual energy and maintenance costs by $16,000, the simple payback is 5 years. DOE found a 5.9-year average simple payback and $1,380 average life-cycle savings in one small commercial air-cooled unitary AC class. That’s a useful gut check when a proposal starts looking too good on paper.
Simple payback works well as a screening tool. But it leaves out financing interest, utility-price escalation, equipment life, timing of major repairs, and savings that keep coming after payback. For projects with high upfront cost or several equipment paths, life-cycle cost analysis (LCCA) gives a better view by comparing the present value of all costs and savings over 15 to 20 years. Use the same assumptions across all options for discount rate, utility-price escalation, maintenance inflation, replacement timing, and residual value.
Use this matrix to compare repair, replacement, controls, and ventilation on the same basis.
| Criterion | Repair or optimize existing rooftop unit | Replace rooftop unit with high-efficiency equipment | Ductless or VRF system | High-efficiency boiler or hydronic retrofit | Controls and scheduling | Ventilation optimization or energy recovery |
|---|---|---|---|---|---|---|
| Lowest first cost | Often yes | Moderate | Moderate to high | Moderate | Low to moderate | Moderate |
| Lowest operating cost | Usually low to moderate | Moderate to high | High for zoned buildings | Moderate to high | Moderate to high | Moderate |
| Shortest payback | Often shortest | Moderate | Moderate | Moderate | Often short | Moderate |
| Greatest carbon reduction | Low to moderate | Moderate | Moderate to high | Low to moderate | Low to high | Moderate |
| Lowest disruption | High | Moderate | Moderate to high | Moderate | Very high | Moderate |
| Best long-term resilience | Low if equipment is obsolete | Moderate | High when zoning and redundancy matter | Moderate to high | Moderate | High when indoor-air requirements are maintained |
How To Estimate Energy And Carbon Reduction Without Overstating Results
Track each energy stream on its own. Electricity savings should be measured in kWh, peak demand reduction in kW, and natural gas savings in therms. Then multiply each one by the right utility rate, including demand charges, to get the dollar effect. A controls upgrade might cut kWh without changing peak demand. A staged heat pump project may cut both.
For carbon, use the same structure:
Annual Carbon Reduction (tCO₂e) = (ΔkWh × Electricity Emissions Factor) + (ΔTherms × Natural Gas Emissions Factor) + (ΔFuel × Fuel Emissions Factor) + Avoided Direct Refrigerant Emissions
Use current electricity emissions factors for your area, and spell out whether they are location-based or supplier-specific. Direct refrigerant emissions should be tracked on their own:
Refrigerant CO₂e = Refrigerant Leaked × Refrigerant GWP
Annual leakage is commonly estimated at 1%–10% of total system charge. For scale, R-404A has a 100-year GWP of about 3,943, R-410A is about 1,924, and R-32 is about 677. Even a small leak can hit hard. For example, 10 lb of a refrigerant with a 2,000 GWP is about 9.1 metric tons of CO₂e.
| Upgrade | Main Energy Effect | Carbon-Reduction Potential | Key Uncertainty |
|---|---|---|---|
| High-efficiency rooftop unit | Reduces cooling and heating kWh, therms, or both | Moderate | Actual savings depend on sizing, economizer operation, schedules, and duct leakage |
| Heat pump | Replaces some or all fossil-fuel heating with electricity | Moderate to very high | Results depend on winter efficiency, backup heat, electricity emissions, and gas displaced |
| Ductless or VRF system | Improves zoning and avoids distribution losses | Moderate to high | Savings depend on zoning, simultaneous heating and cooling, controls, and occupant behavior |
| High-efficiency boiler | Reduces gas use through improved combustion and modulation | Low to moderate | Carbon reduction may be limited if the building remains fully gas-heated |
| Controls and scheduling | Reduces unnecessary runtime, simultaneous heating and cooling, and reheat | Low to high | Poor programming, overrides, sensors, and commissioning can erase projected savings |
| Ventilation optimization or energy recovery | Reduces over-ventilation or uses energy recovery | Moderate | Indoor-air-quality requirements, occupancy, filtration, and pressure relationships must remain acceptable |
Present savings as a range with clear assumptions – conservative, expected, and best-case – instead of one guaranteed percentage. State the baseline period, weather conditions, operating hours, occupancy, utility rates, emissions factors, equipment efficiencies, and refrigerant assumptions behind every number. Actual results change with weather, occupancy, installation quality, and whether the system is commissioned and maintained the right way. Use delivered-energy changes and the correct emissions factors, and avoid unsupported carbon claims. Use those ranges to choose a phased path in the next section.
Phased Upgrade Roadmap And Conclusion
A Step-By-Step Upgrade Sequence For Small Businesses
Now that the baseline, cost, and carbon math are in place, the next step is to phase the work in the right order. Doing it in stages helps protect cash flow and improves building performance. It also helps you get better payback and lower emissions before you spend money on major equipment.
Here’s the sequence to follow:
- Use the baseline data you already gathered to rank repairs, controls work, distribution fixes, and replacement by impact
- Fix safety issues and restricted airflow first
- Tune controls next
- Seal and balance ducts or hydronic distribution
- Replace equipment sized to the corrected load
- Finish with commissioning and post-project verification
This order matters. If you fix distribution and controls issues first, you may cut the amount of replacement capacity you need later. That can shrink the cost of the replacement phase. Retrocommissioning can also pay back fast, often before any major replacement even begins.
Use the decision matrix below to connect that sequence to the building’s actual symptoms.
Decision Matrix For Common Building Problems
Once you know the symptoms, start with the fix that causes the least disruption. Save full replacement for cases where the load or the equipment condition calls for it. This table links common building conditions to the first actions worth taking and the upgrade paths worth checking.
| Building Symptom | Probable Cause | First Action | Upgrade Path to Evaluate |
|---|---|---|---|
| Aging RTUs with repeated breakdowns | Worn refrigerant circuit, coils, or motors | Inspect economizer, airflow, and controls; compare repair cost with remaining life | High-efficiency packaged RTU, staged replacement, demand-controlled ventilation |
| Uneven temperatures between rooms | Duct imbalance, poor zoning, or envelope leakage | Check dampers, insulation, and thermostat location | Air balancing, duct repair, zoning controls, variable-speed equipment, or ductless/VRF systems |
| High boiler fuel use or weak heat output | Combustion inefficiency, pump losses, or distribution problems | Test combustion, burners, pumps, and water temperature | High-efficiency boiler, outdoor-air reset, variable-speed pumping, hydraulic balancing, or pipe insulation |
| Excessive outdoor-air or ventilation loads | Incorrect ventilation rates or failed economizer controls | Verify schedules, occupancy assumptions, and demand-control sensors | Corrected ventilation controls, energy recovery, demand-controlled ventilation, and improved building pressurization |
| Limited or inaccessible ductwork | Structural constraints | Assess electrical capacity, wall penetrations, and condensate drainage | Ductless or VRF systems with dedicated ventilation equipment where required |
| High bills without a clear equipment fault | Scheduling errors, simultaneous heating and cooling, or sensor drift | Normalize bills for weather; inspect schedules and sensor accuracy | Controls optimization, submetering, commissioning, envelope improvements, or equipment replacement after diagnosis |
Use the symptom-based matrix to move from diagnosis to the right upgrade path.
Key Takeaways
Every upgrade decision in this guide starts in the same place: a documented baseline, not a purchase order. If you don’t have measured loads, weather-adjusted utility bills, and a clear view of what the system is doing, it’s easy to replace equipment that didn’t need replacing. It’s just as easy to undersize something that does.
That’s why rooftop units, ductless and VRF systems, boilers, and controls should be compared in the context of your building’s actual limits. Look at total ownership cost instead of sticker price alone. That means energy use, maintenance, downtime, service life, incentives, and carbon impact all count.
Measured baselines, verified performance, and steady maintenance are what help protect savings and carbon cuts over time. Sound operations and maintenance practices can produce approximately 5%–20% in annual energy savings on their own. And in plenty of buildings, a properly commissioned, maintained, and controlled system will outperform a newer one that isn’t.
FAQs
Should I repair or replace my commercial HVAC system?
Deciding whether to repair or replace your commercial HVAC system usually comes down to cost and performance.
A common rule of thumb is the $5,000 rule: multiply the system’s age by the estimated repair cost. If the total comes out to more than $5,000, replacing the system is often the better long-term move.
It also makes sense to think about replacement if you’re dealing with frequent breakdowns, rising utility bills, or uneven comfort in the building. On the other hand, if the system is still fairly new and the fix is small, a repair and regular maintenance may be all you need.
How do I compare HVAC upgrades beyond upfront cost?
Compare total lifecycle cost, not just the purchase price. That means looking at the full picture: installation, fuel, maintenance, repairs, downtime, and disposal.
It also helps to weigh energy savings, reliability, proper installation and commissioning, and any incentives you can get. A high-efficiency system can cut annual fuel bills by 15% to 20%. But there’s a catch: poor setup can wipe out those savings fast.
When you’re deciding between repair and replacement, use the $5,000 rule. Multiply the system’s age by the repair cost. If the result is more than $5,000, replacement usually makes more sense.
Which HVAC upgrade cuts carbon the most?
For carbon reduction, ductless variable refrigerant flow (VRF) and integrated heat pump systems are often the best upgrades to start with. They tend to perform well at part load, and they avoid the energy waste that comes from leaky ductwork.
When you pair them with energy recovery ventilators (ERVs), high-efficiency condensing boilers, and smart controls, the payoff can be strong. These systems cut energy use and lower carbon emissions by heating and cooling only the spaces that need it, only when they need it.