
Most smart thermostats do not plug straight into a ductless mini split. If I want phone control, schedules, or room-by-room settings, I first need to match the mini split to the right control method.
Here’s the short version:
- Standard 24V thermostats usually won’t work on their own because mini splits use their own control system.
- I usually have 3 control options:
- Brand Wi-Fi module
- IR smart controller
- Wired thermostat interface
- Model number matters more than brand name. Two units from the same brand can support different add-ons.
- Many setups need one device per indoor head, so total cost can jump from about $100 to $1,000+ across multiple zones.
- Many Wi-Fi add-ons need 2.4 GHz Wi-Fi.
- IR control often works in more homes, but it may miss status feedback, error codes, and some brand-only settings.
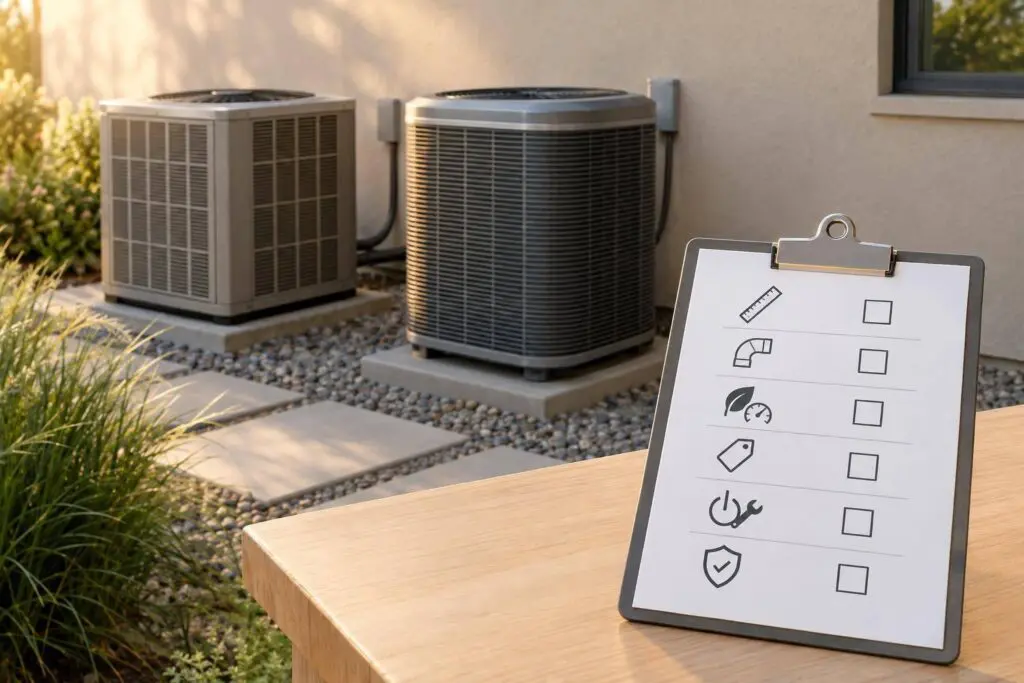
If I want the shortest path to the right setup, I check these items before buying anything:
- Exact indoor and outdoor model numbers
- Whether the indoor unit has an accessory port
- Whether the unit uses IR, RF, or wired control
- How many indoor heads I need to control
- Whether I want app control, a wall thermostat, or both
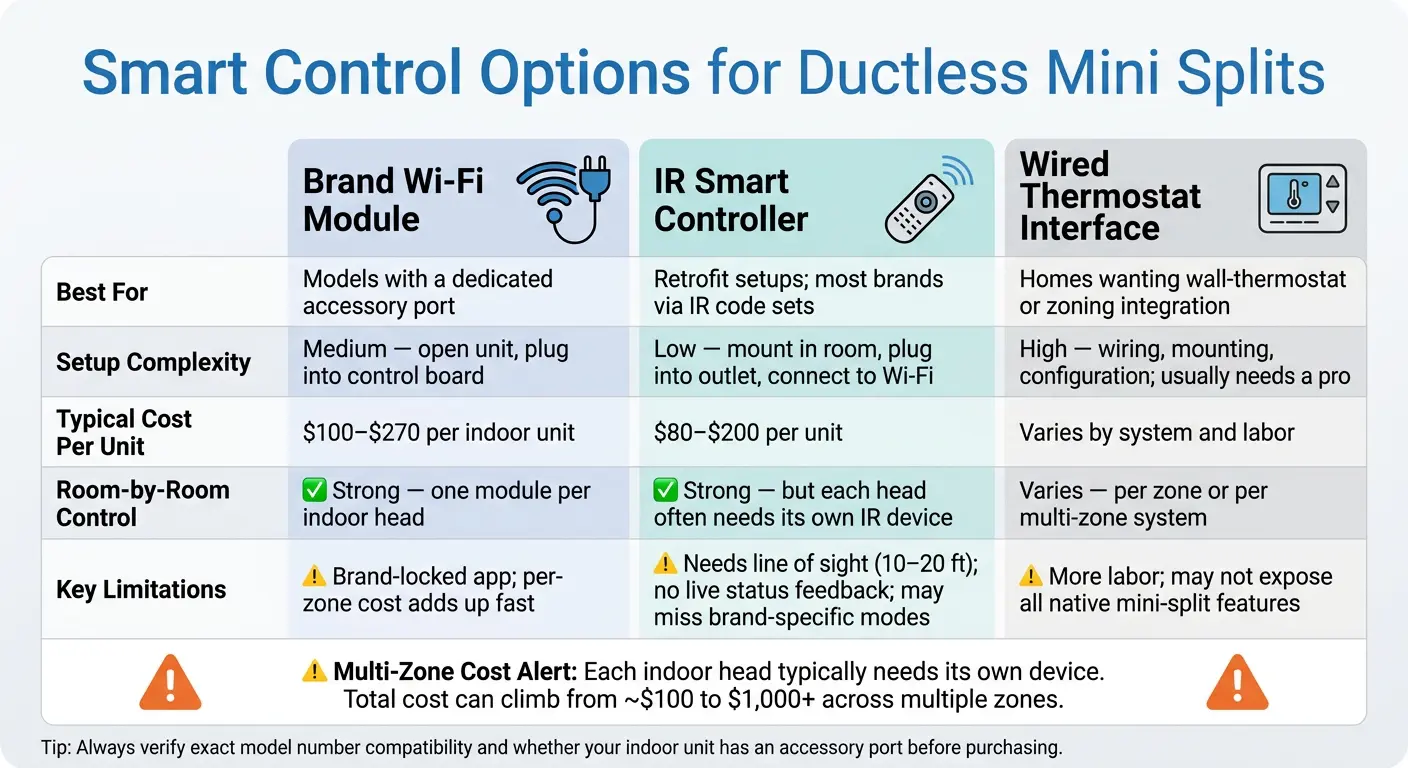
Smart Thermostat Control Options for Ductless Mini Splits: Side-by-Side Comparison
Most Robust Mini Split Wifi Controller for Mitsubishi, Daikin, Fujitsu & Others
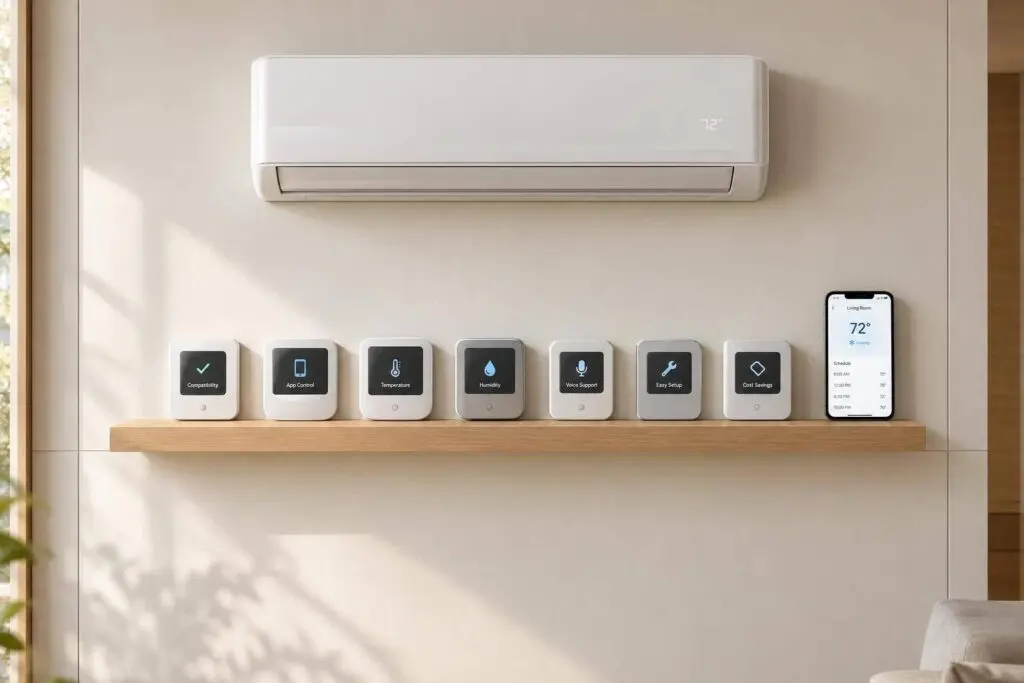
Quick Comparison
| Option | Best for | Setup work | Main limit | Typical cost |
|---|---|---|---|---|
| Brand Wi-Fi module | Full app control on supported models | Medium | Often one module per head | $100–$270 per unit |
| IR smart controller | Retrofit setups with remote-based control | Low | Needs line of sight; less feedback | $80–$200 per unit |
| Wired thermostat interface | Homes that want wall thermostat control | High | More install work; some features may be lost | Varies by system and labor |
Bottom line: before I buy any smart control for a ductless mini split, I confirm the unit’s exact compatibility, pick the right control path, and count the number of zones. That avoids wasted hardware, missing features, and setup problems.
Check Mini-Split Compatibility and Pick the Right Control Path
Now that you know mini-splits don’t use 24V thermostat wiring, the next step is simple: match the control path to the indoor unit before you buy anything. The key detail is the indoor unit’s port and control board. Brand name by itself doesn’t tell you enough.
Brand App, Wi-Fi Module, Infrared Controller, or Wired Thermostat Interface
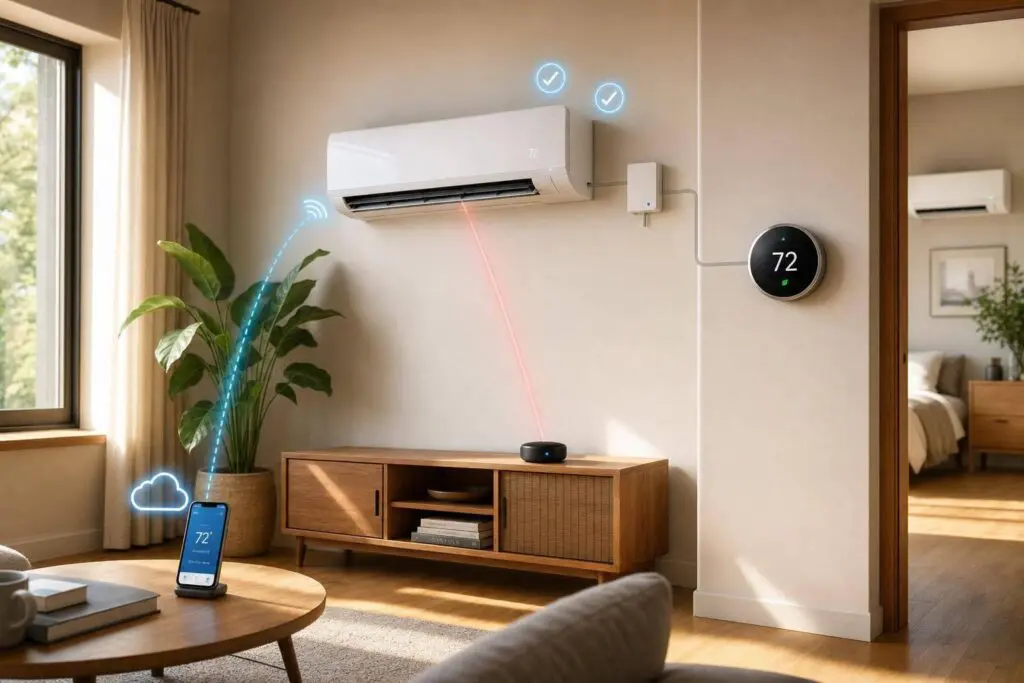
You have three main control paths: a brand Wi-Fi module with app, an IR controller, or a wired thermostat interface.
A brand Wi-Fi module is usually the cleanest route when the indoor unit has a dedicated accessory port. You stay inside the manufacturer’s system, which tends to matter if you want full feature access. That usually means app-based scheduling, mode control, and fan speed control from your phone.
An infrared (IR) smart controller is the easiest retrofit for many homes. These devices sit in the room, plug into a standard outlet, and copy the commands from your handheld remote over Wi-Fi. That’s often the best fit when the unit doesn’t support a brand Wi-Fi module or when you don’t want to open the indoor unit. The catch is pretty straightforward: IR controllers can only send commands the original remote already supports. So they can’t pull system status, error codes, or some advanced functions. They also need a clear line of sight to the indoor unit’s receiver.
A wired thermostat interface kit is more of a niche path. It’s for homeowners who want a wall thermostat to run the mini-split. Some manufacturer kits and third-party options convert standard thermostat signals into mini-split commands. This setup takes more work and can trim back access to some mini-split features, but it can make sense if you’re tying a ductless unit into a home that already uses thermostat-based control in other zones.
Pick the path that lines up with your unit’s port, the features you want, and the wiring setup you already have.
How to Confirm Brand and Model Compatibility Before Buying
After you pick a control path, verify the exact model number and check for the accessory port. Start with the exact model numbers from the nameplate on both the indoor head and the outdoor unit. Compatibility is model-specific. Two units from the same brand can look almost identical, yet one may support a Wi-Fi adapter while the other doesn’t.
Next, open the installation manual for the indoor unit and go to the accessories or optional parts section. That’s where you’ll usually find supported adapters, the port they use, and any limits on installation. For example, the manual may note that the port is already in use by another accessory. If that port is occupied, adding a Wi-Fi module may not be simple.
You’ll also want to check your home’s Wi-Fi network compatibility. Many adapters need 2.4 GHz Wi-Fi, so confirm that before buying.
If you have a multi-zone system, plan on one device per indoor unit. Some manufacturer Wi-Fi setups need a separate module for each indoor zone so each room can be controlled on its own. In a three-zone home, that means three devices, which can change the total hardware cost pretty fast.
Find the Right Adapter or Module for Your Mini-Split Setup
Once you’ve confirmed your control path, the next move is picking the hardware. This is the part that tends to make or break the setup. The right module depends on your indoor unit’s port, the number of zones in the system, and how much install work you’re okay with. In plain English: hardware choice comes before app setup and zoning.
When a Brand-Specific Wi-Fi Module Is the Right Choice
Some brands use a dedicated accessory port that plugs straight into the ductless mini-split control board. Because the connection is direct, you’ll usually keep more of the unit’s native controls inside the brand app, including operating modes, fan speeds, louver position, energy history, filter reminders, and error codes.
Manufacturer modules usually cost about $100 to $270 per indoor unit, depending on the brand and seller. That sounds fine at first. But on a multi-zone system, you’ll often need one module for each indoor head, so the cost can climb fast.
When an Infrared Smart Controller or Thermostat Interface Works Better
Infrared smart controllers are often the simpler route. They sit in the room and get power from a 120-volt outlet or USB, so there’s no need to wire into the unit itself. The catch is line of sight. These devices usually need a clear path to the indoor unit from about 10 to 20 feet away. Tall furniture, partitions, or bright sunlight hitting the receiver can get in the way. In open-plan rooms, that often means using one dedicated IR controller for each indoor head.
A wired thermostat interface makes more sense when you want wall-thermostat control or need the mini-split to work with thermostat-based zoning. These adapters connect to terminals inside the unit and convert standard thermostat signals into the mini-split’s proprietary control signals. It’s a more hands-on install, with low-voltage wire runs, terminal connections, and thermostat setup, so this is usually a job for a pro.
3 Ways to Add Smart Control: A Side-by-Side Comparison
| Option | Best Fit | Installation Complexity | Room-by-Room Control | Common Limitations |
|---|---|---|---|---|
| Brand Wi-Fi module | Models with a dedicated accessory port | Moderate: open unit, plug into board | Strong: one module per indoor head | Works only with that brand’s app; per-zone cost |
| Infrared smart controller | Most brands and models via IR code sets | Low: mount in room, power, Wi-Fi | Strong, but each head often needs its own IR device | Needs line of sight; may miss advanced functions |
| Wired thermostat interface | Systems requiring wall-thermostat or zoning integration | High: wiring, mounting, configuration | Varies: per-zone or per multi-zone system | More labor; may not expose all native features |
Once the hardware is picked, the next step is naming each indoor unit and pairing the app.
Set Up Room-by-Room Control and Pair the App
Assign Each Indoor Head to a Zone
Once you’ve picked the right smart thermostats or control path, give each indoor head its own zone. If you want true room-by-room control, you need one adapter or controller for each indoor head. A shared module usually won’t let you control every room on its own.
After the hardware is installed, name each zone in a way that makes sense at a glance. Use room-based labels like "Primary Bedroom", "Kids Bedroom", "Home Office," or "Sunroom." In a small business, names like "Checkout Area" or "Waiting Room" are much easier to manage than something vague like "Zone 1." And here’s the part people often skip: use the same room names everywhere – in the app, in your voice assistant, and in any other control platform.
Connect the App, Pair the Device, and Test Core Functions
Download the right app for your hardware first. Then create your account and verify it before adding any devices. Most apps will ask you to put the device into pairing mode, then add it by scanning a QR code or entering the serial number. During setup, make sure your phone is on the same 2.4 GHz Wi-Fi network. If auto-discovery doesn’t work, manual setup usually gives you a fallback: enter the Adapter ID and MAC address printed on the Wi-Fi module.
As soon as pairing is done, test each zone right away. Change the temperature by a few degrees and make sure the indoor unit responds. Then check mode changes and fan speed so you know each room is acting on its own. After that, step outside and test remote access over your cell network. It’s also a good time to switch on alerts like filter reminders.
Once every zone is working the way it should, you can move on to the limits of that control path.
Know the Limits Before You Buy
Once you pick a control path, take a minute to check the trade-offs that come with it.
Key Limits: Line-of-Sight Issues, Partial Feature Support, and Multi-Zone Costs
IR controllers need a clear path to the indoor unit. Doors, cabinets, or even a piece of furniture can block the signal.
The big trade-offs come down to signal range, feedback, feature access, and total cost.
IR controllers send commands only. They don’t report the unit’s live status back to you. That means you may tell the system to change temperature or mode, but the controller may not know what the unit is doing at that moment.
Third-party IR controllers usually cover the basics, but they often leave out brand-specific modes. If there’s one setting you care about, check support before you spend the money.
Cost is another place where things can snowball. In most cases, each indoor head needs its own controller or module. Consumer IR controllers usually cost $80 to $200 per unit, and brand-specific Wi-Fi modules can land in a similar range or cost more for each zone. In a multi-zone setup, that can climb to several hundred dollars or more than $1,000, and labor can push the total even higher.
What to Confirm Before Installing Smart Controls
Before you order hardware, verify the exact communication type and model support.
Check that the controller works with your exact brand and model. Also review warranty rules for third-party controls. Just as important, confirm whether the unit uses IR, RF, or a proprietary wired signal, because that determines which control path will work.
For Mitsubishi systems, a qualified installer such as Eco Temp HVAC can verify compatibility and installation requirements. In a larger multi-zone Chicagoland home or mixed-use property, a qualified installer can also check each zone, spot missing interface boards, and catch layout issues that could create IR signal problems before they turn into a headache after installation.
FAQs
Can I use my existing smart thermostat with a mini split?
Usually, no. Ductless mini-split systems often rely on brand-specific controls and wiring that standard smart thermostats just don’t support.
If you want smart features, your best bet is a specialized smart controller made to work with your mini-split brand. These controllers can add app control, voice assistant support, and scheduling.
How do I know which smart control works with my unit?
Compatibility can get tricky with ductless mini-splits because many of them use proprietary digital communication instead of standard 24V wiring.
Here’s the easy way to spot it: if your unit has terminals labeled A, B, C, D or 1, 2, 3 instead of R, W, and Y, don’t assume a smart controller will work out of the box.
Check the manufacturer’s compatibility tool first, or talk to a pro before you buy anything.
Will I need a separate controller for each room?
Usually, yes. In a ductless mini-split system, each indoor air handler works as its own zone. That means you’ll usually need a separate controller for each room that has a unit.
That setup gives you room-by-room control with a handheld remote, wall-mounted controller, or mobile app. In plain English: one person can keep the bedroom cool while another keeps the office warmer, without changing the whole house. It can also help cut energy use in rooms you’re not using.