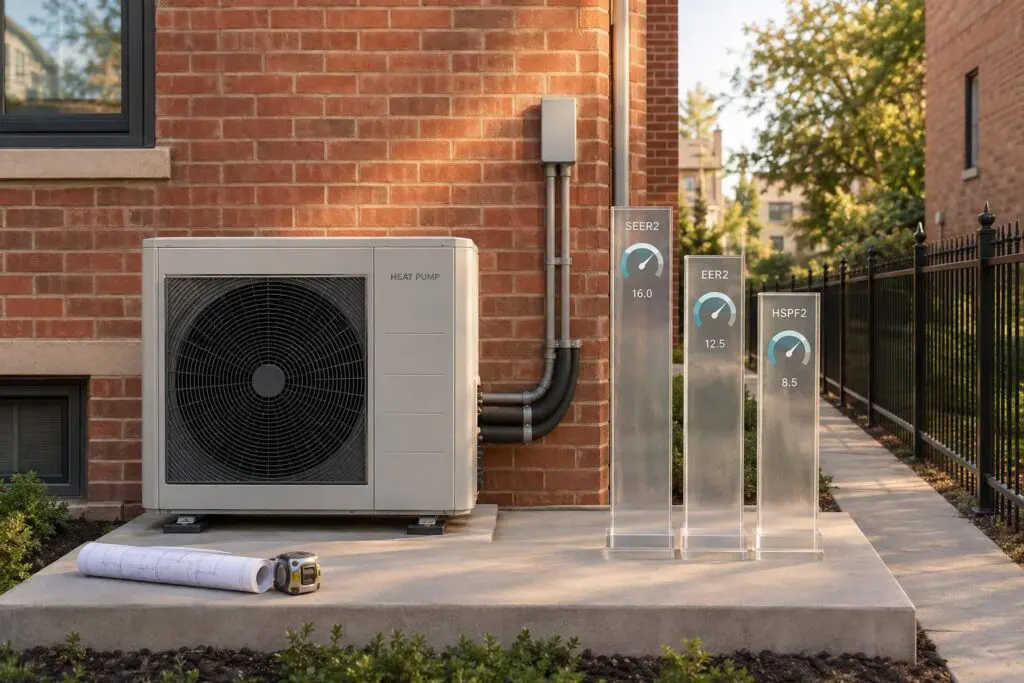

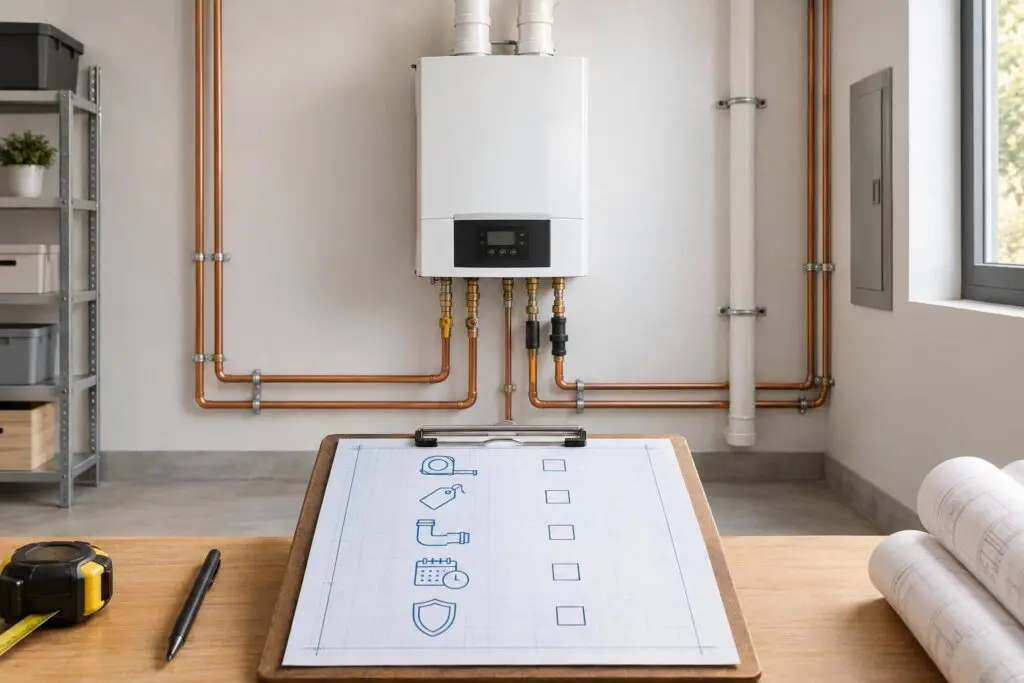
Before I approve a boiler installation, I want the sizing, full price, and work plan in writing. For your Chicagoland property, that means a heat-loss calculation for hot-water heat or radiator measurements for steam – not just replacing the old boiler with the same size.
Here’s what I’d ask before work starts:
- Equipment: Which boiler type and fuel fit my system, heating needs, and hot-water demand?
- Site work: What venting, combustion air, drainage, and freeze protection are needed?
- Price: Does the quote cover permits, removal, piping, controls, startup, cleanup, and exclusions?
- Timing: When will work finish, and how long will heat and hot water be off? A straightforward replacement may take 1–2 working days, but added work can take longer.
- Controls: Will my thermostats and zones work, and who will test them?
- After installation: What warranties, startup reports, maintenance, and inspection records will I receive?
My rule: <u>agree on the whole job before installation day</u> – including access, outage plans, and the final walkthrough.
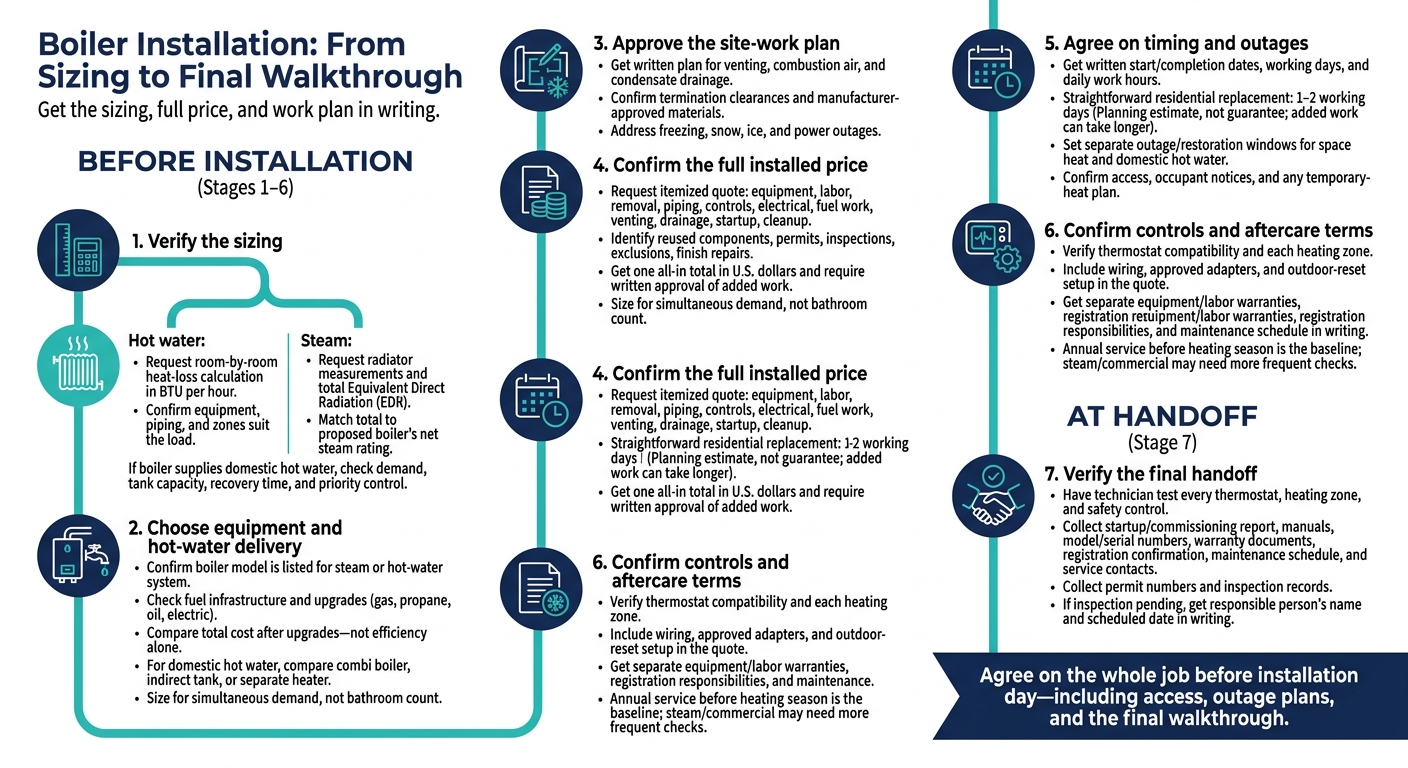
Boiler Installation: From Sizing to Final Walkthrough
Top 5 Questions About Replacing Your Boiler: Costs, Lifespan, Efficiency & More
sbb-itb-b5c10b1
How Is the Right Boiler Size Determined?
For a hot-water boiler, ask for a room-by-room heat-loss calculation in BTU per hour. The report should cover room size, insulation, openings, air leakage, design temperature, zoning, and planned changes to the building envelope. ACCA Manual J or an equivalent load-calculation method is commonly used to find the building’s peak heating load.
If the boiler also supplies domestic hot water, ask the installer how demand, tank capacity, recovery time, and priority control affect sizing. An occasional spike in hot-water use shouldn’t automatically mean a much larger boiler. The installer should first check the risk of short cycling.
For a steam system, start with the existing radiators. Ask for their measurements and total Equivalent Direct Radiation (EDR), then match that total to the proposed boiler’s net steam rating. Steam radiation is about 240 BTU per hour per square foot of EDR. The NET I=B=R rating already includes a 33% piping and pickup allowance, so don’t count that allowance twice.
Check the manufacturer’s input, output, and net ratings. Input is the fuel energy supplied; output is the usable heat left after losses. For a modulating boiler, also ask for the minimum firing rate and turndown ratio. DOE’s federal purchasing guidance recommends at least a 5:1 turndown ratio for gas-fired hot-water boilers. Even so, the minimum output must suit your smallest active zone.
Check radiator or baseboard capacity at the proposed water temperature. Confirm that the piping, circulator pumps, expansion tank, and zone controls match the load. Once the size is set, move on to venting, combustion air, and condensate drainage.
Which Boiler Type and Fuel Suit Your Property?
Once you’ve sized the boiler, narrow your options by fuel, system type, and needed upgrades. Compare total cost after upgrades – not efficiency alone. Ask for an operating-cost estimate based on your actual heat load and local utility rates. The model must also be listed for your steam or hot-water system.
| Fuel | Infrastructure to check | Venting | System compatibility | Local suitability and code checks |
|---|---|---|---|---|
| Natural gas | Gas service, meter, piping, regulator capacity, and shutoff | Approved venting required | Steam or hot water, depending on model | Check gas-service capacity, venting, combustion air, and emissions rules. |
| Propane | Tank, regulators, piping, and delivery access | Approved venting required | Hot water or steam where listed | Confirm tank clearances, permits, and approved propane configuration. |
| Oil | Tank condition, oil lines, filter, burner, and delivery access | Approved venting required | Steam or hot water, depending on model | Check storage rules, NFPA 31 where adopted, and maintenance access. |
| Electric | Service capacity, panel, dedicated feeder, and disconnect | No combustion venting required | Usually hot water; verify steam listing | Electrical and mechanical codes still apply. |
Condensing boilers recover heat from exhaust vapor. They need manufacturer-approved venting and an approved condensate drain; neutralization may also be required. Lower return-water temperatures help these boilers condense, so ask what supply and return temperatures to expect in both mild and cold weather.
Noncondensing boilers generally use higher-temperature venting. They also need protection from sustained low return-water temperatures, which can cause corrosion. Don’t assume your chimney is approved for the model you choose.
ENERGY STAR’s commercial guidance gives roughly 80°F–120°F as a typical condensing return-water range. Ask how outdoor reset will control water temperature. Emitters that consistently need hotter water can limit condensing performance. Steam systems need a listed steam boiler – not a hot-water replacement.
For residential equipment, compare AFUE. ENERGY STAR thresholds are 90% for gas boilers and 87% for oil boilers. For commercial equipment, use the applicable thermal-efficiency rating. Before ordering, ask the contractor to identify the local code, required permits, who handles inspections, and any emissions restrictions.
For domestic hot water, compare a combi boiler with a boiler-fed indirect storage tank or a separate water heater. Ask for the available hot-water flow at the required temperature rise, storage recovery capacity, and anti-scald protection. Also check whether hot-water priority temporarily pauses space heating. Size for simultaneous demand, not bathroom count. Once you’ve settled on hot-water delivery, verify venting, combustion air, and drainage requirements before ordering.
What Venting, Combustion Air, and Drainage Are Needed?
Once you choose a boiler model, confirm its venting, combustion air, and drainage requirements.
Before installation, request a written venting plan showing termination locations, approved pipe materials and diameters, supports, and total equivalent length – including elbows. Have the installer check clearances to windows, doors, air intakes, walkways, and the snow line against the boiler manual and local code for your boiler type and fuel.
Ask how the piping will slope without creating low spots that trap water. Many boiler manuals require horizontal exhaust runs to slope back toward the boiler at 1/4 inch per foot so condensate drains rather than pools. Intake piping may have different requirements, so the installer should follow the exact model’s manual.
Confirm whether the boiler draws combustion air from outdoors or from the room. For room-air systems, request the code-based opening-size calculation, and keep chemicals and solvents out of the boiler room. If a chimney will stay in use, check its condition, liner, and size. Removing a boiler from a shared flue can leave the water heater connected to an oversized flue that needs correction.
If the model requires condensate drainage, confirm the approved discharge point, drain material, pipe diameter, slope, and any required pump or neutralizer. Keep this drain separate from the pressure-relief discharge. If you need a pump, confirm its capacity and lift. Request a test of the drainage system and any overflow shutdown or alarm. Keep neutralizer media accessible for servicing.
For Chicagoland winters, ask how the installer will protect drains, intakes, and exhausts from freezing, snow, and ice. Choose protected indoor drain routing where possible, and follow manufacturer instructions for insulation or heat tracing. Request a power-outage plan, too: internal freeze protection needs electricity and does not protect exposed piping.
What Does the Installation Quote Include?
Once you’ve chosen the boiler type, request a written, itemized quote for the full installed system, not just the boiler. When asking Eco Temp HVAC for a proposal, request the brand, model number, capacity, efficiency, fuel, labor, and materials. ENERGY STAR recommends estimates that identify the equipment, costs, project schedule, and warranty information.
The proposal should show separate line items for removal, near-boiler piping, safety controls, system-specific parts, thermostat connections, electrical and gas work, venting, and condensate equipment. It should also list the parts needed for your system:
- Hot-water systems: Expansion tank, air separator, and fill/backflow-prevention devices.
- Steam systems: Header, equalizer, Hartford Loop, low-water cutoff, skim piping, and main or radiator vents, as applicable.
Identify every component the installer plans to reuse, including pumps, tanks, zone valves, thermostats, radiators, and piping. State what inspection or testing each one needs. Include cleaning, flushing, air purging, leak checks, balancing, and startup, along with a written report covering combustion safety, venting, pressures, temperatures, and controls. For steam systems, confirm whether skimming is included.
Make clear who obtains permits, pays fees, schedules inspections, and handles corrections if the installation fails inspection. Cleanup should cover old equipment, packaging, scrap, and debris. Wall and finish repairs need separate line items: patching a penetration doesn’t include drywall, paint, trim, or flooring.
List exclusions, such as asbestos work, chimney reconstruction, concealed corrosion, structural repairs, utility upgrades, and code corrections. Request one all-in total in U.S. dollars that accounts for taxes, disposal, permits, inspections, and stated allowances. The proposal should also spell out deposit terms, progress payments, final payment conditions, financing charges, cancellation terms, and the requirement for written approval of any added work. Confirm warranty coverage and whether a post-installation check is included.
After the quote is clear, ask how long installation will take – and how long your heat will be off.
How Long Will Installation Take?
Ask for written start and completion dates, total working days, and daily work hours. A straightforward residential replacement may take 1–2 working days. New piping, venting changes, or difficult access can stretch the job to several days or longer. These are planning estimates, not guarantees. Confirm that “complete” includes startup and final inspection – not just placing the equipment. The timeline should match the scope of work and shutdown plan.
Separate on-site work from calendar delays. Hidden piping problems can add work, while permits, inspections, and equipment delivery can hold up completion. Ask what needs to be resolved before the old boiler is disconnected, who will tell you about delays, and when you’ll get a revised completion date. Local approval requirements may also affect when you can use the new boiler.
Get separate outage windows for space heat and domestic hot water, with service restoration times for each. Ask what happens if work runs overnight. For occupied businesses or multifamily buildings, request a shutdown schedule that identifies affected spaces and any evening or weekend work. Match those outage windows to the notices given to tenants or businesses.
Before installation day, clear the path to the boiler room and arrange keys, access codes, and parking. For a business, confirm whether crews can stage the work around normal business hours or work evenings or weekends.
If the old boiler fails before installation, ask whether temporary heat is available, how soon it can arrive, what it costs, and who pays.
Once the schedule is set, confirm whether your existing thermostats and zoning controls will work with the new boiler.
Will Existing Thermostats and Controls Work?
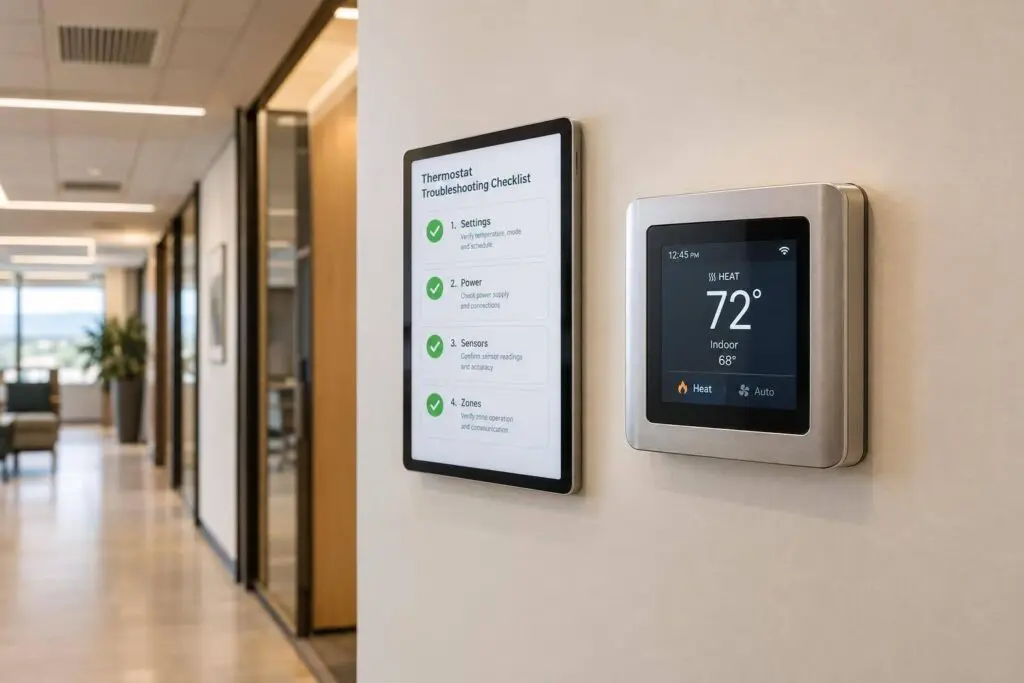
Once sizing, fuel, and schedule are set, check the controls before installation day. Have the installer verify your existing thermostat’s voltage and confirm whether the boiler accepts a simple on/off heat call or needs a communicating or modulating controller. Get the approved control model in writing.
Check each heating zone. Keep existing zone valves, relays, circulators, transformers, and end switches only if their condition, capacity, and wiring suit the new system. Each thermostat should still control its intended zone, and the system must handle simultaneous calls for heat correctly. List every safety control that will stay or be replaced. Never bypass a safety control.
Check power at every thermostat location. Many smart thermostats need 24 VAC and a connected C-wire. Ask whether you’ll need new cable or a manufacturer-approved adapter, and include that work in the quote. Identify wires by their terminals – not their colors – and set the thermostat for boiler heat.
Confirm whether outdoor reset is included and where its sensor will go. Choose a spot away from direct sunlight, exhaust vents, and snow buildup. Specify who will program the reset curve, and check that the settings suit your radiators, baseboard, or radiant floors in very cold winter weather.
Have Eco Temp HVAC set up and test every thermostat, zone, and safety control. Before handoff, ask for a demonstration of schedules, temporary holds, temperature settings in °F, and app pairing. Also request written control settings and details of any included return visit.
Next, get the warranty, startup test, and maintenance details in writing.
What Warranty, Startup Tests, and Maintenance Are Included?
Once the thermostat and zone controls are approved, get the warranty, startup, and maintenance terms in writing.
Ask for separate written equipment and labor warranties. Check each coverage period, start date, and registration deadline. Coverage may exclude diagnosis, labor, shipping, and removal, so confirm what you’ll pay for yourself. Ask who submits the registration and handles claims. Review exclusions for freezing, poor water quality, installation errors, and missed maintenance.
Require a commissioning report. It should document pressure and leak checks, system pressure and temperature, venting and combustion-air checks, condensate drainage, and safety-device test results. For a modulating gas boiler, request combustion readings at the firing rates its manufacturer specifies. The report should also include the technician’s name, date, model and serial numbers, and any corrective work.
Set a maintenance schedule for your model, and ask whether the first service visit is included. Annual service before heating season is the baseline. Steam, commercial, and high-use systems may need more frequent checks.
Confirm that service covers venting, air openings, relief valves, condensate drains, low-water cutoff checks, and all other manufacturer-required inspections. For steam systems – or when the manufacturer calls for it – include inspection and cleaning of internal boiler surfaces.
Document the required water-quality tests and the manufacturer’s limits for pH, dissolved solids, and other relevant measures. Ask whether flushing, treatment, and retesting after treatment are included. For condensing boilers, arrange annual condensate-trap checks, with cleaning and refilling as needed.
Keep water-test results, startup reports, registration confirmation, invoices, and service records in your installation packet. You’ll need them for the final checklist and may need them for warranty claims.
Final Checklist Before Installation
Before installation day, check the plan and paperwork. Compare the proposal with the scope of work, including boiler size, model, fuel, venting, combustion air, drainage, thermostat compatibility, price, exclusions, warranty, and maintenance terms.
Get the crew’s arrival window, expected heat and hot-water outage window, and any temporary service plan in writing. Confirm what happens if the work runs past schedule.
Before the crew arrives, clear the work area and access to the boiler and electrical panel. Locate the fuel and water shutoffs, but don’t operate them. Identify the thermostats and heating zones, and agree on how the crew will protect the access route, floors, and walls. Keep pets, children, and other occupants out of the work area.
At the final walkthrough, collect the closeout paperwork and have every control tested. Request permit numbers and inspection records, model and serial numbers, manuals, warranty documents, the startup/commissioning report, the maintenance schedule, and instructions for routine service and emergency contacts. If an inspection is pending, get the responsible person’s name and scheduled date in writing. Have the technician test each thermostat and heating zone before leaving.